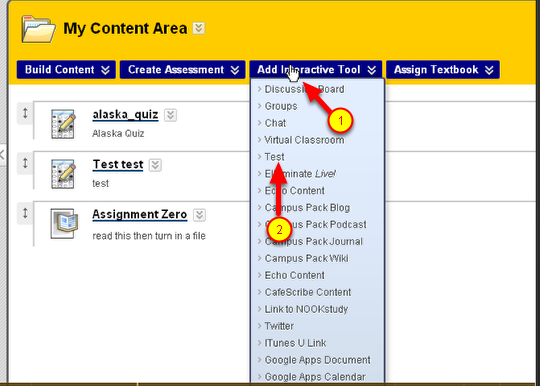
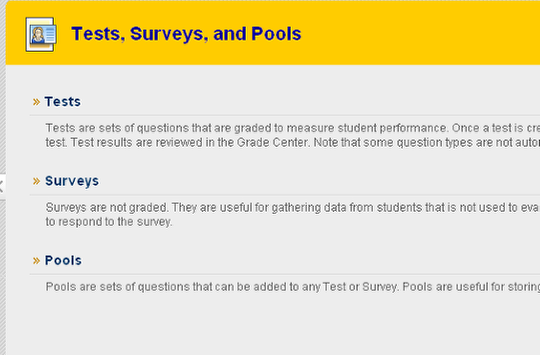
This tutorial explains how to review the results of an online test. The instructor reviews results through the "Grade Center", and the student reviews results through "My Grades".
Instructor: Go to the Grade Center
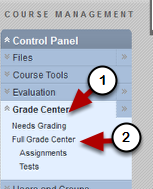
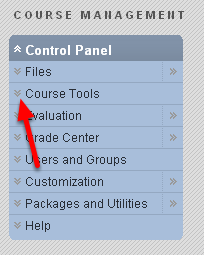
In Control Panel
- go to Grade Center and then
- go to Full Grade Center
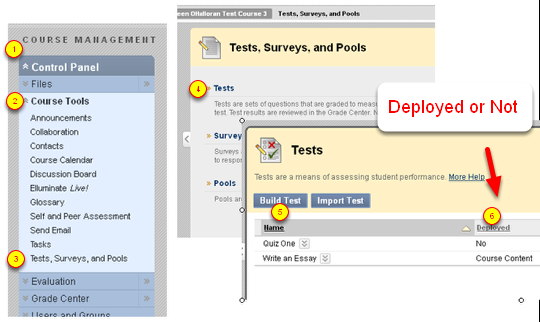
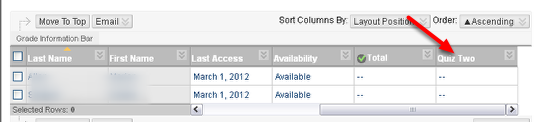
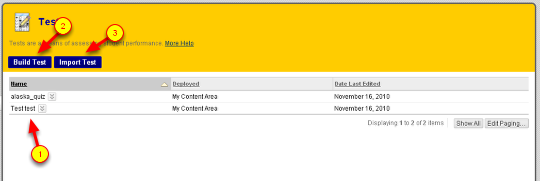
Find the column for the test
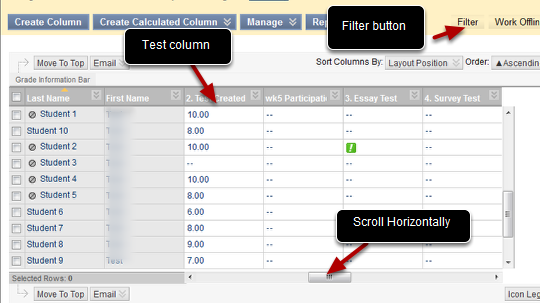
Find the column for the test. You can simplify the gradebook view by using the "Filter" function found to the upper right of the grade center. This lets you filter by category. Note – you’ll have to change the filter back to "All Categories" to see the full grade center again.
Viewing Statistics for the whole test

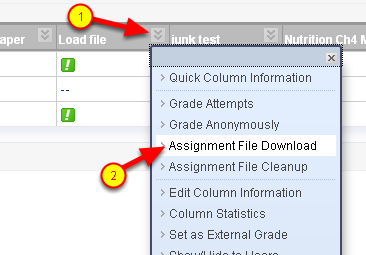
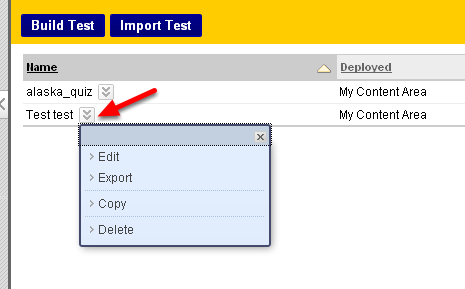
(1) To the right of the column header for the test, find the drop-down menu
(2) Click on the drop-down menu icon then choose Attempts Statistics
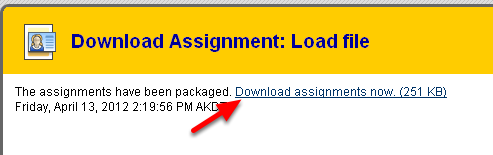
You can also "Download Results" – read the instructions carefull to save the results.
Attempts Statistics
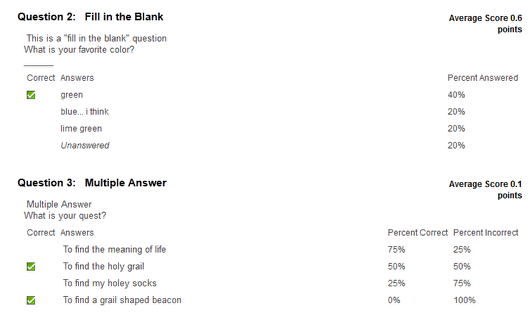
Attempts Statistics will give you a question by question breakdown showing what persentage of students submitted each answer as well as over-all statistics for the test.
View Results for Individual Students
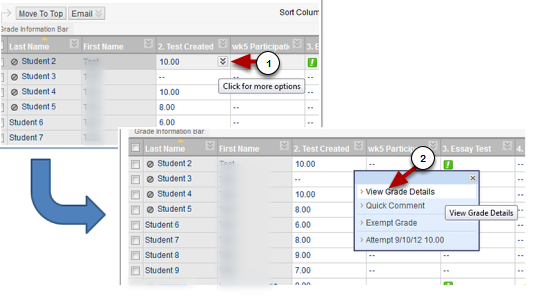
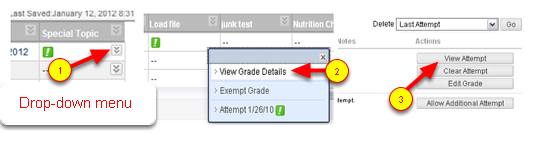
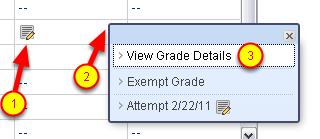
To view individual student grades, go to the first student that has a result in the gradebook. From the drop-down menu next to their score in the column ( (1) this only shows when you move your mouse over that area in the gradebook column) choose (2) View Grade Details.
View attempt for the first student
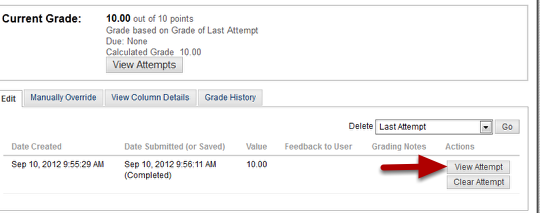
Now click View Attempt for that student.
You’ll only have to do two clicks for the first student – after that it becomes easier!!!
View a students result
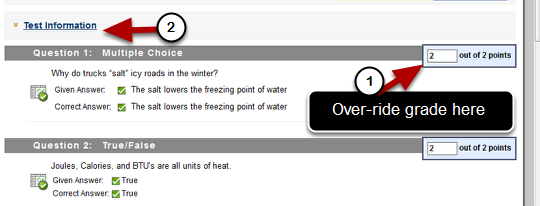
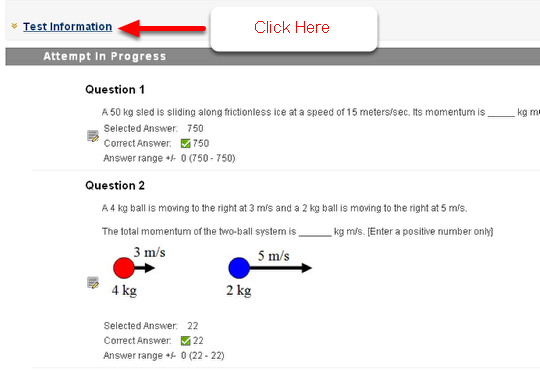
Now you can view an individual students result and over-ride their grade if you would like to (1)
Note also the link that says "Test Information" (2) – this can be important!
Expand Test Information
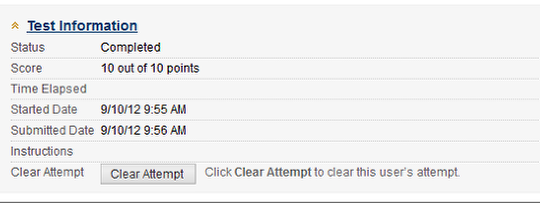
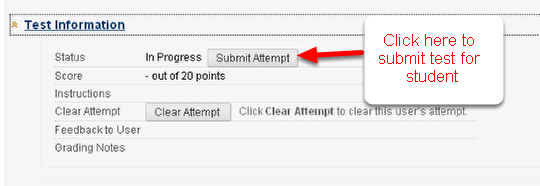
Expanding "Test Information" by clicking on it lets you know how long the attempt took etc. It is also one way to Clear the Attempt or to Submit an Attempt for a student who takes part of the test then either times out or has a glitch while submitting.
Leave Feedback, Continue to next student
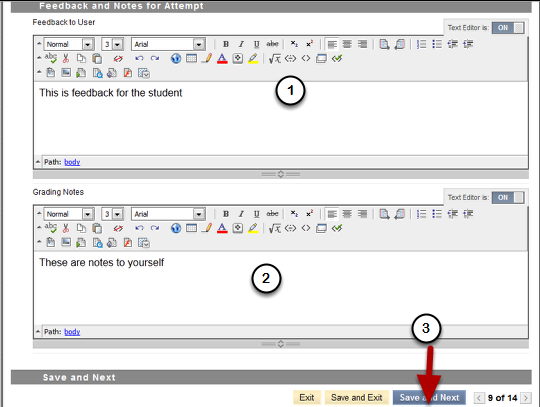
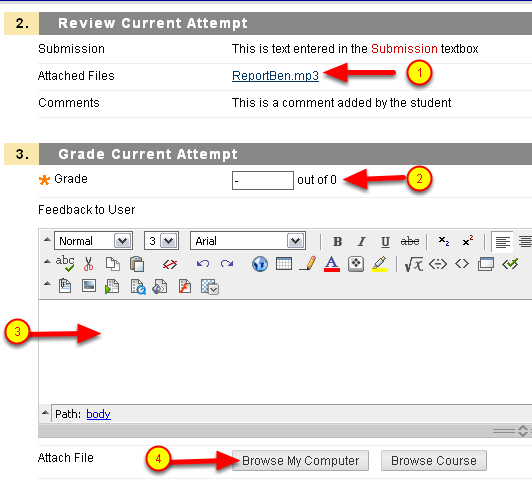
Scroll down while viewing the attempt
(1) You can leave feedback for the student
(2) You can make notes for yourself
(3) At the bottom click "Save and Next" to continue to the next student of "Save and Exit" to return to the Grade Center
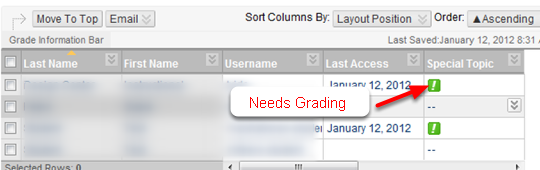
Grading Essay Tests
Essay Tests (tests with question type Essay) are graded in the same way. You will of course have to give the grades manually – each question will have a place to enter the score for that question and an individual feedback box for each question.
Entering grade manually
You can enter grades manually from the full grade center view. Just click once or twice on the first row that you want to enter a grade, type the grade and then Enter key.
Do not be too impatient! The grade center takes a bit of time to save the grade and grade history – you’ll see the grade update and your cursor in the next row shortly after you type enter
How students review their grades
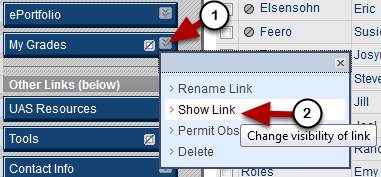
You must make "My Grades" visible before a student can see their grades and feedback – use the drop-down menu next to the My Grades link in the course menu and choose "Show Link" (it will have a square with slash through it next to the menu item name if it is hidden).
Student’s view of My Grades
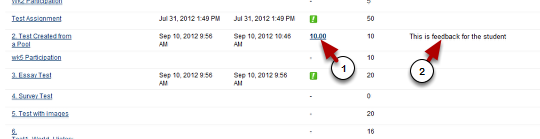
The student will see all the gradebook "columns" down the page when they view My Grades. The score of their test will be a link (1). The will also see any feedback you have entered (2).
Students can click on the link for the score to view attempt
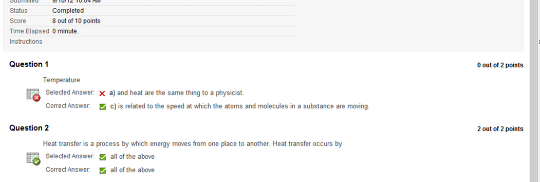
If students click on the link for their score (then click a secont time on the score on the next page) they can review their test.
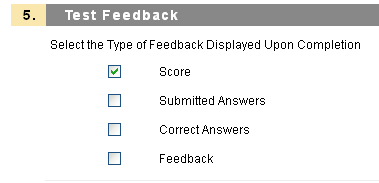
What they see depends on the level of feedback you have set in "Test Options" when you deploy the test – if you have set only "score" then they cannot review the test. You can also choose to show their answers, the correct answers, and general feedback (if the instructor has entered it when making the test).
In the example above both "submitted answer" and "correct answer" have been selected.
Controlling the level of feedback displayed
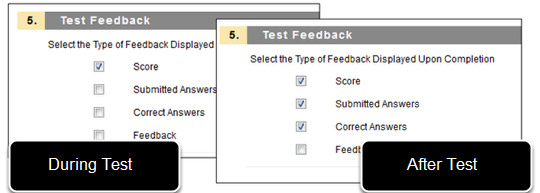
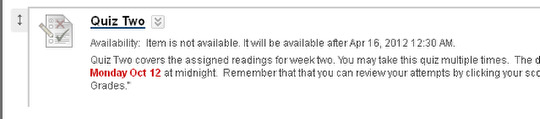
The level of feedback the student sees is determined by the options set at the time they go to My Grades. For example
- While a test is available you may only wish to show the students their score. They will see this immediately after taking the test and when they go to My Grades.
- AFTER the test is no longer available – you may wish to show submitted answers and correct answer – you can Edit Test Options and change the level of feedback – now when the go to My Grades they will see the additional information
Note: for Essay test the correct answer is a model answer which the student can compare their own answer to.
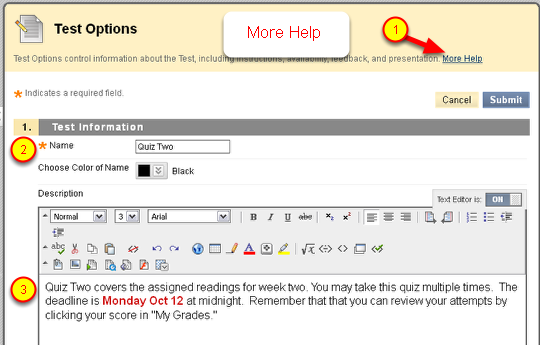
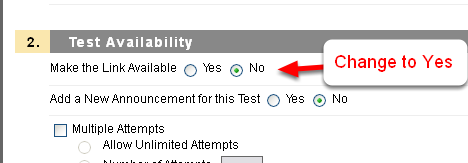
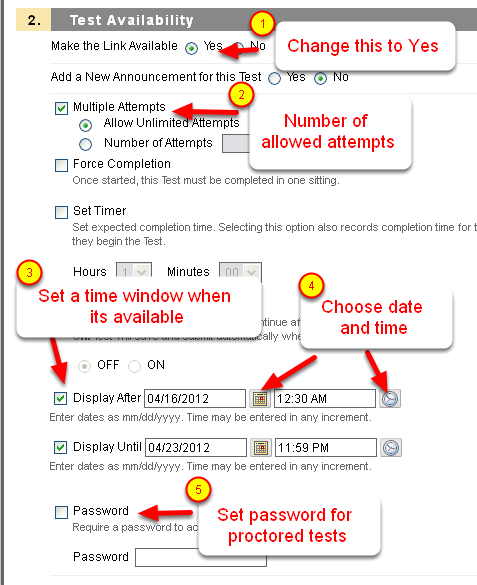
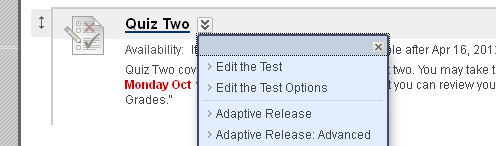
Edit Test Options

Change the availability or level of feedback by editing test options – go to the drop-down menu next to the test name and choose "Edit Test Options"