UAS Online Tasks cannot be imported into Blackboard but can be recreated as Blackboard Assignments. To do this you will need to cut and paste between your old UAS Online class and your new Blackboard class. The easiest way to do this is to have the two classes open in different browser windows or tabs and switch between them.
Read more about Blackboard Assignments here: Getting Started with Assignments (pdf)
Open both your UAS Online class and your Blackboard Class
- Go to UAS Online and login
- Browse to find your old UAS Online class – right click on the name (cntrl-Click on a Mac) and open in a new window or tab
- Brose to find your new Blackboard class – open this in a sepate window or tab as well
In your UAS Online class – go to Instructor Tools and then Assignments
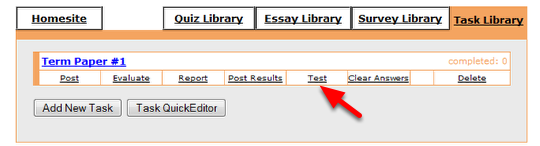
In your old UAS Online class – go to Instructor Tools and then Assignments and open the Task Library
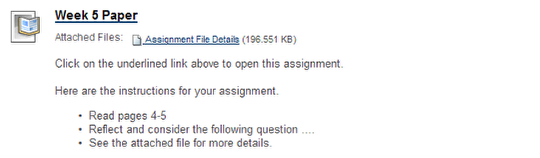
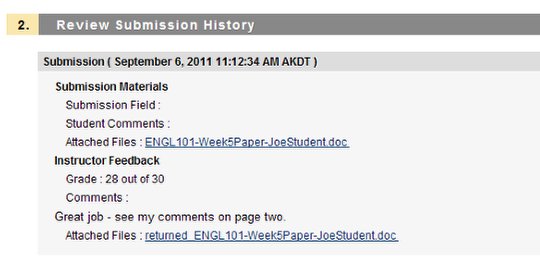
Your task may have:
- A Name
- Instructions
- One or more attachments.
A Blackboard Assignment has these same features. It allows students to submit one or more attached files or to use a textbox in response to your instructions and provides a mechanism for you to submit grades, comments and returned files or papers.
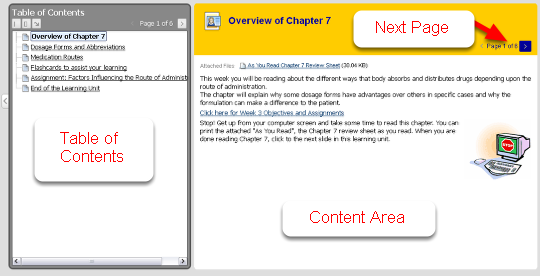
Click on the Test Link to view this task.
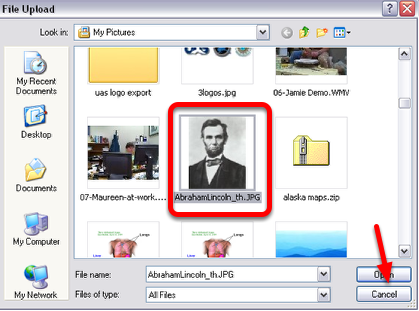
View the task and save any attachments to your computer
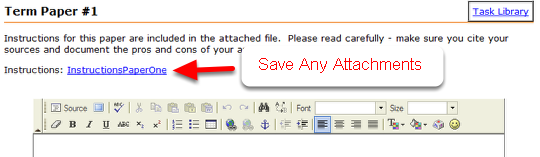
Save any attachments that are including in the instructions to your computer. If necessary, choose right-click (cntrl-click on a Mac) and "Save Link As …" or "Save Target As …"
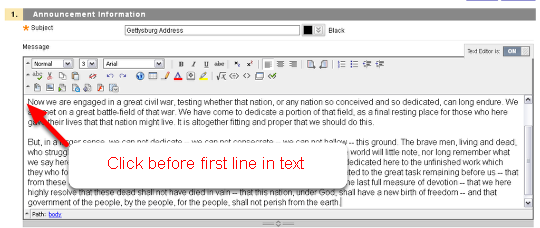
Copy the Instructions to your computer

Select the text of the instructions and copy. You can type Cntrl-C to copy or right-click and choose Copy.
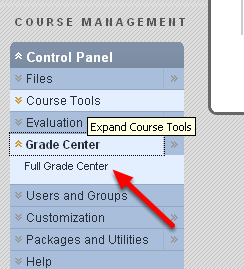
Switch to your Blackboard course.
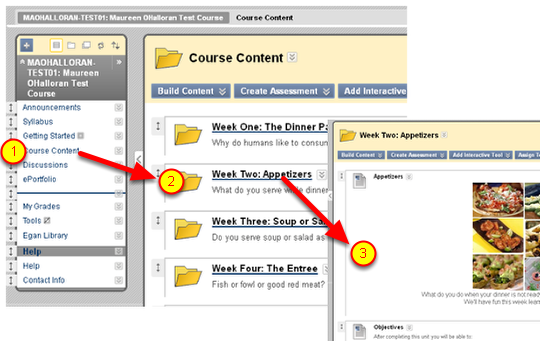
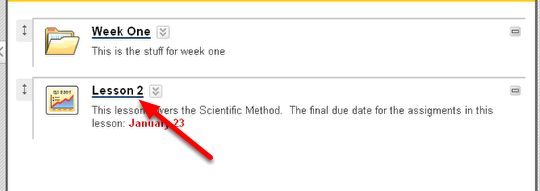
Browse to the content area or folder in which you wish to post your Blackboard Assignment (formerly a UAS Online Task)
In this example, the Assignment will be posted in the Week Two folder which is in the Course Content area.
Click on Course Content and then the Week Two folder
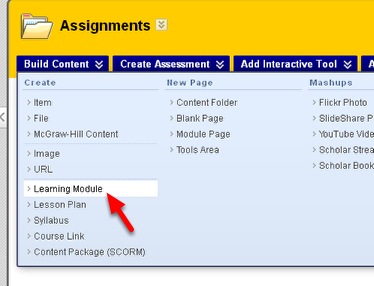
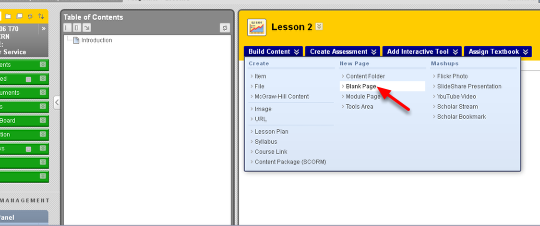
Select Create Assessment > Assignment
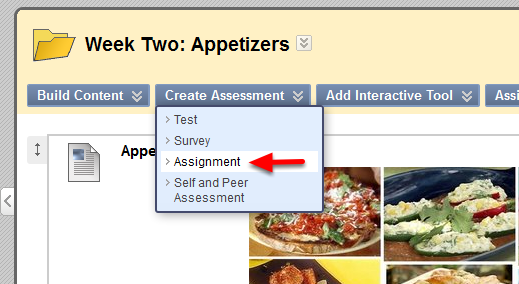
At the top of any Content Area or Folder you’ll see the buttons Build Content, Create Assessment, Add Interactive Tool, etc.
Move your mouse cursor over Create Assessment and choose Assignment.
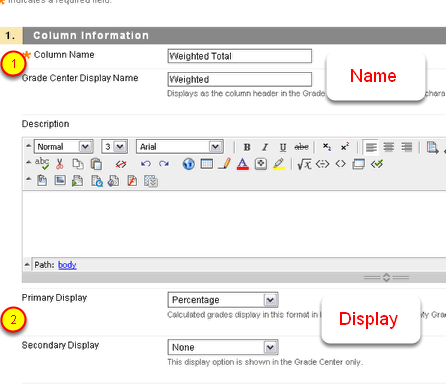
Give the Assignment a Name and paste the instructions into the textbox
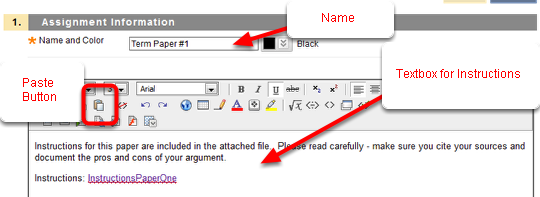
Step 1: Give the Assignment a Name and then paste the Instructions in the textbox indicated.
Click inside the textbox and type Cntrl-V for Paste. You may also use the Paste button which looks like a clipboard.
Adding back the attachments

If the text you copied from your UAS Online course included links to attachments, these will still refer to documents in your UAS Online course. To make it easier to edit and update these in the future, it is safer to remove these links and re-attach the files. This will add these files to your Blackboard course.
Delete the references to attached files.
Adding back the attachments inside the Instructions

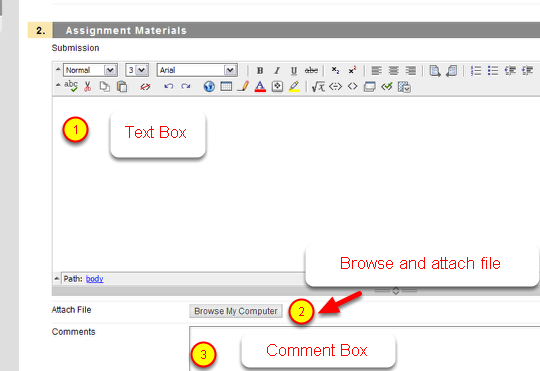
There are two ways to add attachments to an assignment.
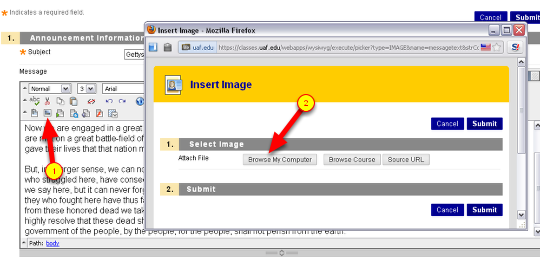
One way is to scroll down to Step 2 and use the "Browse My Computer" button to add one or more attachments. This is the simplest way. After you add attachments they will appear as links below the Name of the Blackboard Assigment and above the Instructions.
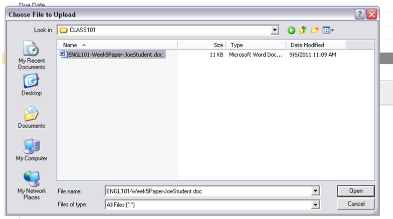
Adding attachments
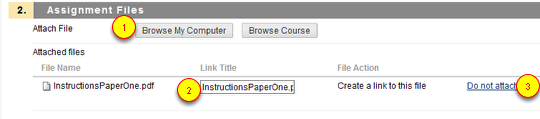
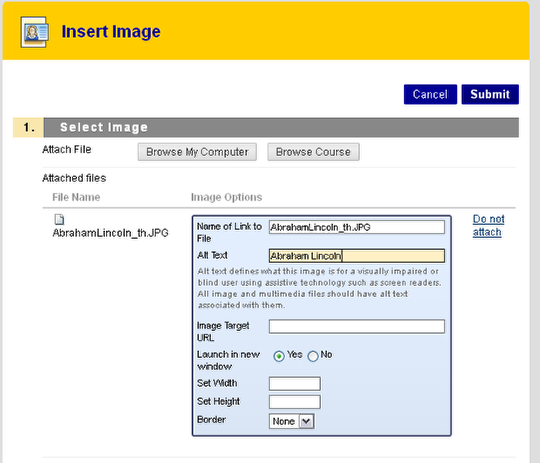
After you click the Browse My Computer button (1) and find and select the file you want to attach, you’ll see the name of the file below the Browse button. If you want the link to the file to have a different name – fill that in under "Link Title". The "Do not attach" link allows you to remove any linked files if you made a mistake. You can attach multiple files by clicking the Browse My Computer button repeatedly.
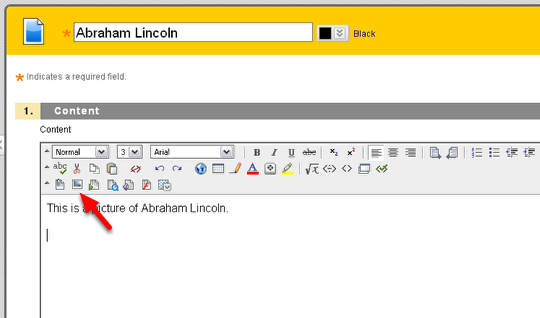
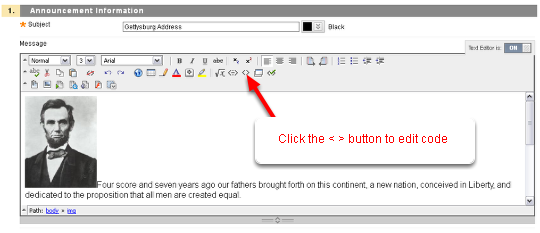
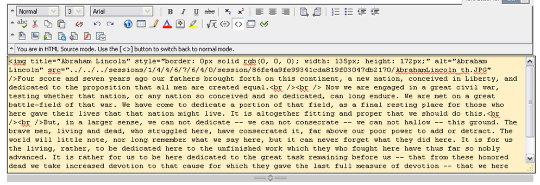
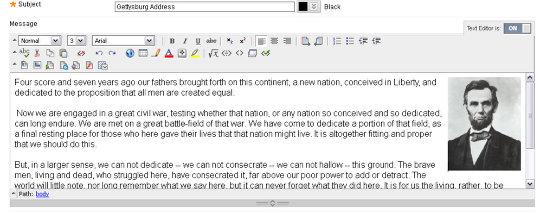
Adding attachments, images, etc within the instructions.
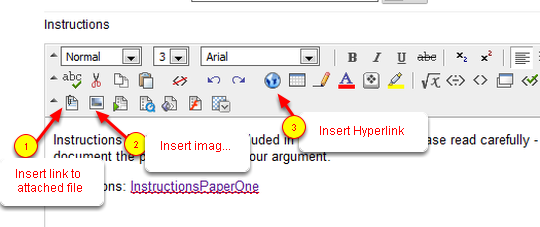
It is also possible to add attached files, images etc. within the instructions. Place your cursor where you want the file or image to appear and then:
(1) Use the button that looks like a paper with paperclip to attach files.
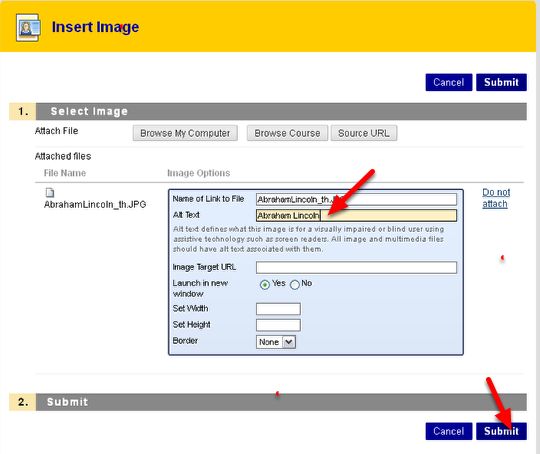
(2) Use the button that looks a picture to insert an image.
You will get a dialog box which will allow you to Browse and select the file or image file from your computer and set options.
You can learn more about the tools in the Rich Text Editor by hovering over the buttons.
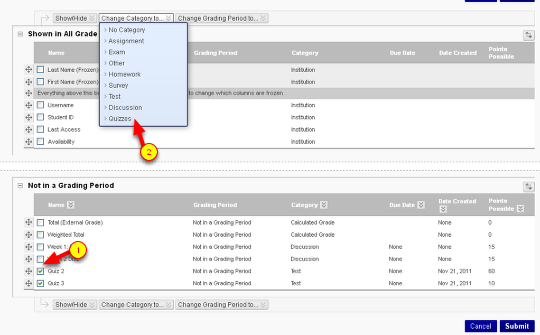
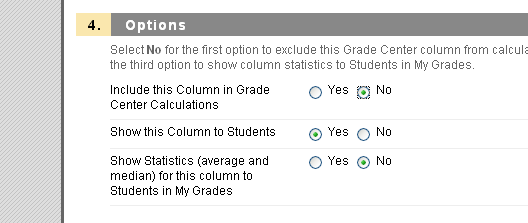
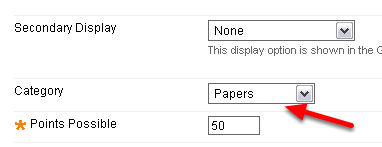
Give your Assignment points

Step 3: The act of creating a Blackboard Assignment will automatically put it in the gradebook. You’ll need to give your Assignment points.
Set Availability
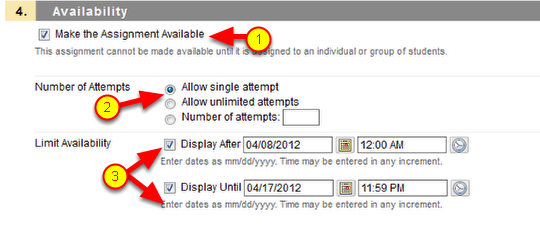
In step 4 you set the availability. You can make the Assignment available and then over-ride that with a a time window to limit availability. (That is you must leave the Assignment available AND check the boxes and select a date range.)
(1) Leave the box "Make the Assignment Available" checked (unless you want it to NEVER be available).
(2) Set the number of allowed attempts
(3) Check the boxes if you wish to set a time window and then choose dates and times.
Set optional due date
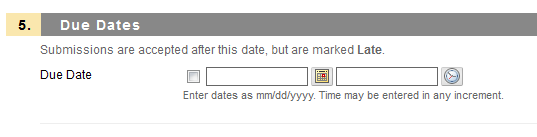
The due date in step 5 is optional. It will provide the students with information about the due date but will not enforce that deadline in any way (you must set a time window to do that). Some instructors prefer to inform students about due dates in other ways and so leave this box blank.
Click Submit to finish.
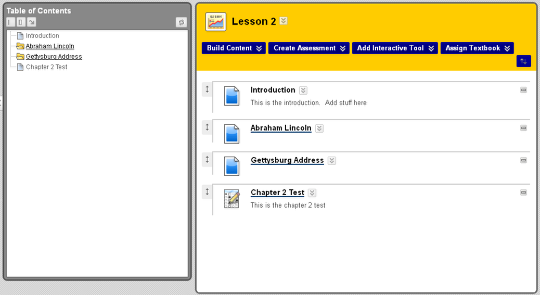
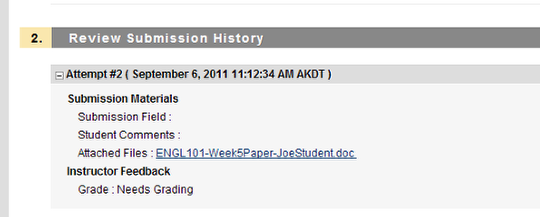
Back in the Content Area or Folder

Back in the Content Area or Folder you’ll see the Assignment. It will be grayed out for you (and invisible to students) if it is unavailable or not within the time window you have set. If you only see "Item not available" that means it will NEVER be available to students. If there is a time window, then the information about when it will be (or has been) available will be given.
You can click on the link to the Assigment to see how it looks to students. Once student files are submitted, you will collect them from the gradecenter and submit grades, comments and returned papers there. Students will go to their own gradebooks (My Grades) to see their own grades, and your comments and returned files.
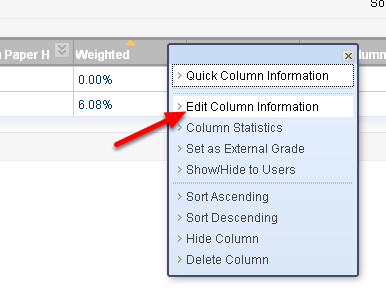
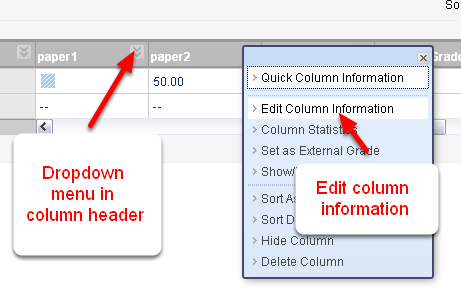
Editing the Assignment
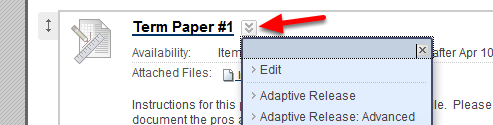
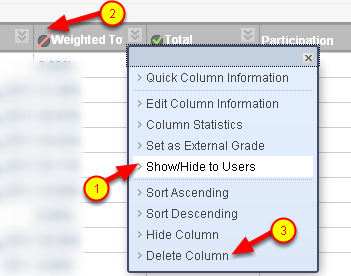
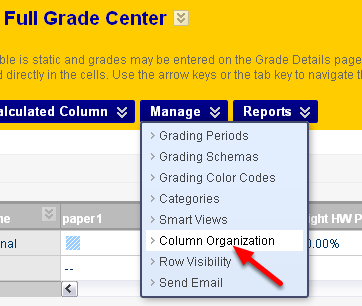
To Edit or Delete the Assignment – use the drop-down menu next to the Assignment name.